Monday, July 25, 2016

A Practical Introduction To Excel Macros

If you have got a recurrent report you make in Excel that follows the same steps, uses the same input type and the final report has a non-changing standard structure, then Excel Macros should be your friend. With Macros you can automate the report making steps so that every time you need to make the report, you simple provide the new input data, run the Macro and you'll have in seconds the output that probably used to take you hours to make.

The best part is that Excel Macros aren't that hard to make. Just like Excel, every level of user can make some productive use of it -- be you a beginner, intermediate or advanced Excel user. Also, it is with use of it that you become more proficient and maybe become like me, making money from building Excel Macros for companies.

Today I will be taking you through a practical example that will start you on your journey to harnessing the power of Excel Macros.

You can watch the video for this practice here: https://www.youtube.com/watch?v=yHzAPGqT4f8 and the practice file is here: http://tinyurl.com/ExcelVideo23


To make the example sink well, let's assume you work for a car dealership and you are in charge of sales analysis. The company is obsessed about branding. They've got the office built to reflect the company brand, the security men even wear uniforms that are the company's corporate colour. The part that worries you though is that all reports are meant to have a particular company style format.

Font 12, Arial, Dark Blue and All Borders. That's the style format. 

There are many ways, in the practical world, to automatically apply those formats to your monthly sales report -- from creating custom styles to using copy paste formats. But today we will use Excel Macros. It is a perfect example to introduce Excel Macros without boring you will tedious irrelevant work.

So here is the table of the entire year's report. You will now use Excel Macro to store the formatting process and apply them whenever you want at the click of a button or keyboard shortcut.


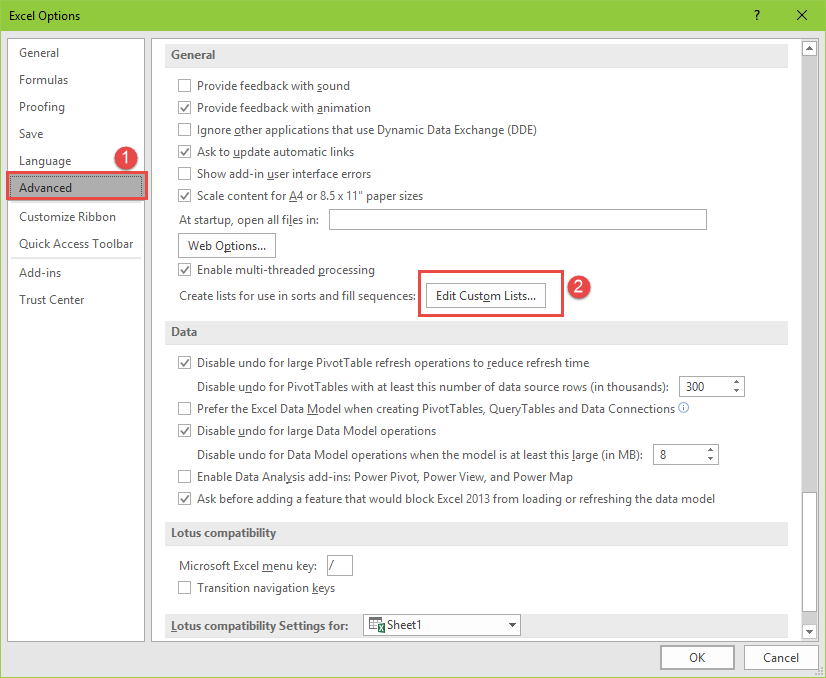
First, you need to enable Developer menu.

Go to File, Options, Customize Ribbon and tick Developer in the middle right of the dialog box you get. Click on OK.


Now you have all the tools needed. You will be able to see a record macro button at the bottom left of your Excel and a Developer tab on your menu bar.


Next step is to have a Macro created for the steps we do to apply the company standard format.

Select the January's data, we will use Macro Recording to store our steps. Click on the record button at the bottom left.

Give the macro a name. Start with an alphabet and don't put space or any special symbol except underscore. Let's also tie it to keyboard shortcut CTRL + m (m for macro, but you can use any you prefer, just avoid using common ones used by Excel like CTRL + C or CTRL + V)


Now your steps are being recorded. Apply the company format style of Font size 12, Font type Arial, Font color deep blue and all borders.


Click on the Stop Macro record button. same button you clicked on to start the macro recording.

Let's test for another month -- February.

Select February's table and do CTRL + m. If you followed my steps correctly you will see Excel automatically repeat all your steps and apply the company format to the February table.


Congrats! Now you've created a Macro. You now understand the process. Next is to use the same concept/steps to create one more relevant to you. Automate those repetitive tasks you do. If I had a more complex task, it would have recorded it too and repeated my steps whenever I called on it.

Finally, let's tie the Macro to a button.

Click on the Developer tab, Insert and choose button under the Form Control section.


Draw a rectangle, in the dialog box that will pop up, select the macro you created and attach it to the button by clicking on OK.


Give the Macro button a name. And now test it by selecting March table, then click on the Macro button to watch it apply the company format to March table.


Finally, save your Excel file as a Macro enabled workbook. 


Congrats on your new Macro!

Tuesday, July 5, 2016

How To Add Additional Charts (Custom Visuals) To Power BI

Yesterday was demo day for me. I did a demo of Power BI for a client for another client. It was the third time I am officially demo-ing Power BI to a large company, and increasingly companies are beginning to give Power BI serious considerations.


In today's post I will be focusing on custom visuals for Power BI -- new chart types you can add to Power BI.

Power BI comes with 27 visualizations (charts), you can easily increase them to over 70 by installing custom visuals, like I have done.


And they are very easy to install. Just head to https://app.powerbi.com/visuals/ and download the ones you like (I recommended at least the Word Count visual).


Next is to import to Power BI Desktop.


And that's it! Now you can add as many custom visuals as you want and create very beautiful dashboards to stay on top of your business data.

Tuesday, June 28, 2016

Creating A Custom List In Excel; An Interesting Example.

If you are an average or above average Excel user, you will be very familiar with Excel autofill. A common example is you typing numbers 1 and 2, then dragging to have Excel do to 10 for you. Or having January and February, then dragging to have Excel do the other months of the year for you.

What if I tell you that you can create your own list. A list of states in Nigeria which you can autofill whenever you need to recreate them. Or a list of your products; you simply type the first two and drag to create the rest (autofill). It even helps you with sorting in the order you've created the list. This can be super useful for companies that use codes for aspects of their operations -- base station address code, branch code, product code and so on. Caution: The custom list has a quite limiting size limit. 

So here is the example of how I created a custom list of states in Nigeria, arranged alphabetical order.

First, I have the states typed out in Excel, in the order I want it (alphabetical order).


And we are half-way done to having it permanently in Excel as an autofill-able list.

Go to File, Options, Advanced, and Edit Custom Lists.


In the Custom List Dialog box that comes up, import the list of states you already have typed into Excel.


And you are done.

Now in a new Excel file or Sheet, type in the first two states, select them and drag down. Excel will start autofilling the other states.


Congrats! Now you've created a custom list. No more typing out states in Nigeria, just type the first (or first two) and have Excel autofill the rest for you.

Tuesday, June 21, 2016

Time Saving Use Of Excel's Advanced Filters In Working On Your Business Data

Every time you apply filter to a dataset in Excel and then copy out the filtered data, you could have saved yourself time and some mouse-strokes by using advanced filter. And despite the name, advanced filter, it is surprisingly easy to use.

As an example, I have the fictitious sales record for Dhormino's Pizza for June 5, 2016. They sell 16 Pizza types: Meatzaa, Extravaganza , BBQ Chicken, Hot Veggie, BBQ Philly Steak, Chicken Feast, Chicken Suya, Chicken Legend, Beef Suya, Margarita, Italiano, Pepperoni Suya, Veggie Supreme, Hot Pepperoni Feast, Chicken Bali and Pepperoni Feast.


They got a new country manager this March, and one of his strategies is to have four brand managers owning 4 different baskets of the pizza types, like the FMCG companies do. Two of those managers are Michael and Mary. They are to ensure that the brands (pizza types) they own are performing well. They are given the latitude and resources to promote them using whatever promotional mix they want. 

As the company's main business data analyst, you pull out daily sales records and extract the ones for each brand manager. With advanced filter, it will be a piece of cake. You might even hook it to a recorded macro and at a click of button all is done.

Continuing with the example, let's see how to extract for Michael and Mary.


Step 1 is to write out the pizza types Michael and Mary manage, separately. And to help advanced filter know where to look for those pizza names, give them a header that matches that in the sales table. See the screenshot above for what I mean.

Step 2 is to go to Michael's sheet (another Excel sheet where you want to put Michael's). Launch advanced filter from there. It is under Data menu, about the middle of the menu tools.


Set it to "Copy to another location"


Provide the sales data range as the "list range", and Michael's pizza types with the header as the "Criteria range".


Finally, for the "Copy to", go to Michael's sheet and select where the result should be displayed. In this example, I select cell A1.


And voila! We get the results.


Very easy and cool.

And there is more to advanced filter. How about if we have a more detailed sales transaction data that captures sales value for each sales transaction, and we would like to extract sales transactions that generated more that 15,000 naira. That too is very easy with advanced filter.

Just follow me. Below is the snapshot of the detailed sales transaction data.


We have specified that we want greater than 15,000 naira transactions only.

The steps are just like previous ones. Launch the advanced filter and provide both the "List range" and "Criteria range"


Specify where the results should be displayed.


And voila, again! It's done!


Now you should be an expert, like me, at using advanced filter. 

Tuesday, June 7, 2016

How To Set Conditional Formatting To Highlight An Entire Record Row Based On Value In One Field

Let's say you have started a side business. You sell about 21 different products. You've hired a trusted hand to manage the business but he is not Excel savvy. So you decided to set up some basic templates to handle invoicing, accounting and inventory management.

We will focus on the inventory management template you set up. It documents the stock of the different products you have -- the quantity in stock, the cost price and number of days they can be stored for. There is just one more thing you want to add. You want the template to highlight in orange products that are due for restocking. And your restocking rule is to not have less than 40 of any product. So once a product quantity drops below 40, it is marked for restocking.

How do you do that with Excel? 

You use conditional formatting. And in a creative way because you want it to not only highlight the quantities that are less than 40 but the entire record line for the products with quantities less than 40.

Form this:


To this:


And here are the steps to achieving it.

Highlight the entire records without the header. Go to Home menu, conditional formatting and click on new rule.


Select "Use a formula .." in the formatting rule dialog box.
In the formula box that shows, press = and select the first record in the quantity row. It will come as $B$3 (a dollar sign before the column alphabet and the row number). In our case we don't want the formula to drag to other columns (like cost, storage days and product columns) so you will leave the dollar sign before the column alphabet. But we do want it to drag downwards to other rows, so it would do each row in our table; for that we remove the dollar sign in front of the row number.

Final formula will look like this: =$B3 less than 40<40 40="" font="">
Got it?


Then you set the formatting to be displayed.


And that is all! Click on OK.


You should now see the result.


And that is how you set conditional formatting to highlight an entire row based on value in just one field.

Tuesday, May 31, 2016

Staying On Top Of Your Business Numbers With Power BI Automatic Reports

With Power BI, I easily monitor my website performance and see the important figures from any device I am on. Also, I am able to monitor my business finance -- track sales, invoices, expenses and instantly generate financial reports. And same for my email marketing campaigns. All in one central place. And you know the best part? The reports are automatically generated for me and updated daily. No need to have a staff make me reports or depend on my now less reliable memory to remind me to generate the report.

And what if I tell you that all these are free and can be easily set-up by you. All you have to do is sign up for Power BI.


Sign up is very easy. Then log in afterwards. You will be directed to a page similar to the one below.


And immediately redirected to the Power BI dashboard. In your case, you will see Microsoft sample reports. I have connected mine to my Google Analytics to monitor my website performance, Mailchimp to check the performance of my email marketing and QuickBooks to see my business performance.

Google Analytics Automated Report

Mailchimp Automated Report

QuickBooks Automated Report
So how did I initiate the report generation? Very easy. I simply connect Power BI to my Google Analytics account, Mailchimp account and QuickBooks account. And that's all. Power BI will generate a comprehensive report that shows you the important numbers all by itself. And if you want, you can customize the reports or add more analysis.

Just click on "Get Data" at the lower left corner to get started.


Choose "Services".


A list of all the services you can connect to will come up. Click "Get" on the ones you want the automatic report generated for.


Notice the detailed report of my business finances from QuickBooks


And that is all.

And if you are a smartphone person, like most of us, you should install the Power BI app from your phone app store (available for Windows Phone, Android and iPhone). So you can always view your reports on your phone. And it automatically updates everyday. No need for you to recreate the report or refresh or update. It does that daily for you without your intervention. That way you always see the most recent report.